If you are on AtomChat's Mega Plan, you can use our White-label Messenger Apps for Android and iOS!
- Login to your AtomChat Admin Panel
- Click on the link 'Request White-label Mobile Apps for Android and iOS'.
- A form will open up where you have to submit all the required details
Please find the explanation for each field in the App request form below -
This field refers to the Name of the app which would be displayed on the home screen. For example, 'AtomChat'.
We use Firebase for Push Notifications. This field refers to bundle ID/Package name which was used for creating your firebase project eg: com.atomchat.atomchat. To know more click here.
This is your AtomChat API key. You will find it in your AtomChat Admin Panel-> API keys.
This field represents your domain name used for the license. It will be pre filled based on your license details.
This is the email address where you will receive your Android app APK file. It will be pre-filled based on the details used during the signup process.
This field represents your AtomChat LICENSE KEY. It will be pre-filled based on your license details. You will find it in your AtomChat Admin Panel -> API keys.
This will be your App Icon. Make sure you upload an icon in 1024x1024 dimensions in PNG format. It would be displayed as your app icon in the launcher/home screen.
Choose the platform you want the Whitelabel apps to be generated for.
This field represents the icon to be used on the splash screen of your app. Make sure the file is in PNG format. This image would be resized to 360x120.
This field represents the icon to be displayed on the status bar once you receive a notification. Make sure the file is in PNG format. The image would be resized to 64x64.
This field represents the json file downloaded from the firebase project. Click here for an additional guide.
This field represents the icon to be used on the splash screen of your app. Make sure the file is in PNG format. The image should be of the following size:
For iPhone:
- 340 x 180
- 400 x 240
For iPad:
- 510 x 350
- 570 x 350
This field represents the .plist file downloaded from the firebase project. Click here for additional guide.
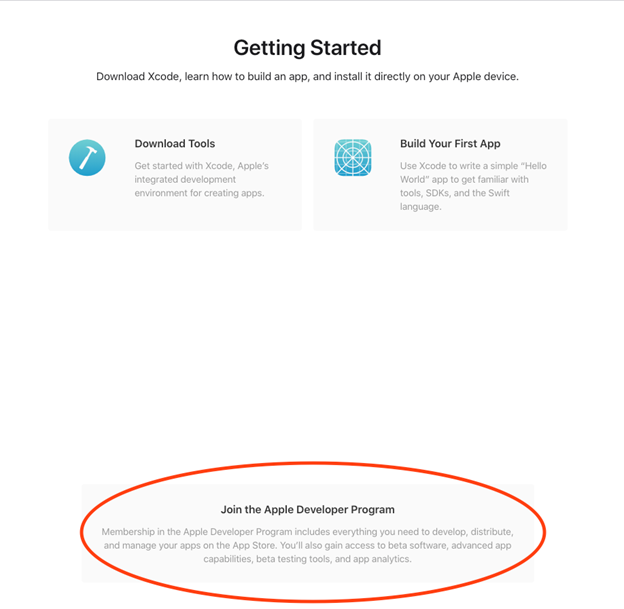
Log in to Apple Developer Account. You may need to enroll in the Apple developer program, if not already enrolled.

- Once you have enrolled in the Apple developer program, Click on the People option, on the screen -> Go to App Store Connect.
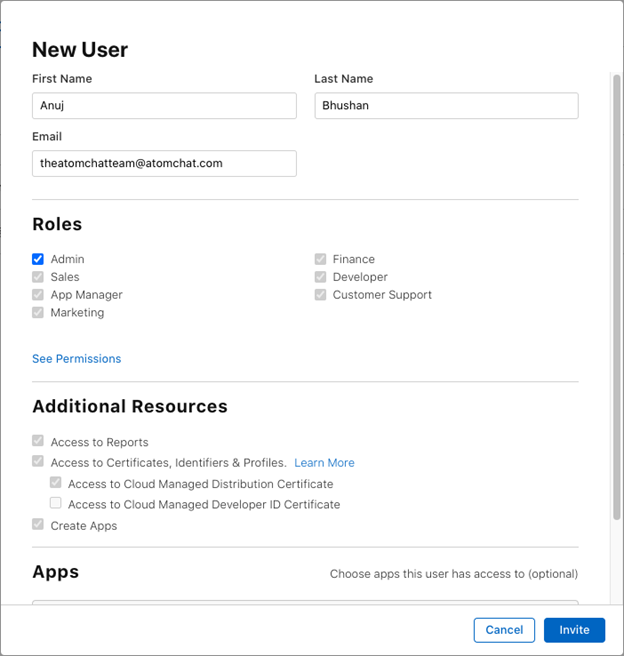
- On the User and Access page, click on the “+” button.
- Add the following details:
- First Name: Anuj
- Last Name: Bhushan
- Email: theatomchatteam@atomchat.com
- Role: Admin
4. Click on Invite.

- Log in to Apple Developer Account.
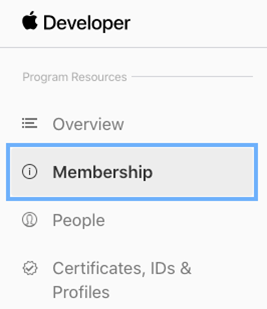
- When you reach the Overview page, click the Membership item on the left menu.

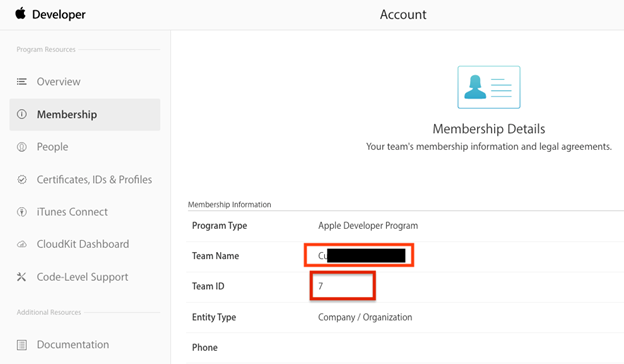
- On the Membership page, locate the Team ID and Team Name field. Select the value and copy it to your clipboard.

Was this article helpful?
That’s Great!
Thank you for your feedback
Sorry! We couldn't be helpful
Thank you for your feedback
Feedback sent
We appreciate your effort and will try to fix the article