Installing AtomChat on WordPress with PaidMembershipsPro Plugin
AtomChat plugin is by default configured to fetch user memberships created by your PaidMembershipPro plugin. Membership levels assigned to your users with PMPro are added as Roles in AtomChat.
What can you do with these Roles?
Our Role Based Access feature allows you to control which user role gets access and privilege to which features.
You can also set chat permissions between users of different membership levels/roles with our Advanced Contact Configuration setting from your AtomChat Admin Panel.
1. Sign-up for a Free Trial
You can select a suitable plan from AtomChat's pricing page and sign up for a 14-day free trial period!
2. Note Your API Keys
- Sign in to your Dashboard and click on the Manage button
- You will see API Keys on the top right. You can copy your keys from here!

3. Secure your environment
For successful integration, please ensure your domain or local environment is SSL certified and secure.
4. Add AtomChat plugin
- Login to your WordPress Admin Dashboard -> Plugins -> Add New
- Browse the Plugin Archive for AtomChat and select it
- Install the plugin
5. Install AtomChat
Once the plugin is activated, follow the below steps to install it on your website.
- Click on the AtomChat tab on the left-hand side navigation menu.
- Enter your License Key and then your Auth Key and click on the Install button to activate AtomChat
Choose a Layout
AtomChat offers 2 Layouts
1. Docked Layout creates a floating chat widget at the bottom right/left corner of your website.
2. Embedded Layout embeds a chat interface inside any page of your website
6. Setting up the Docked Layout

As soon as you install the plugin, our Docked Layout is auto-activated for your convenience.
If you would like to manually add our Docked Layout to a particular page (using the WordPress content editor), then you can use the following shortcode:
7. Setting up the Embedded Layout

The Embedded Layout allows you to add AtomChat to any part of your site page.
To proceed, add the following shortcode to any page of your site (using the WordPress content editor).
8. Contact Sync
Your users will be visible in the contact list once they login using their credentials again to the site after installation.
9. Secure AtomChat
Before you go live, paste your API Key and Auth Key in the AtomChat Plugin (in WordPress Admin Dashboard) -> Authentication Settings.

Sign in to your AtomChat Client Area and click on the Manage button.
Then navigate to Settings -> Authentication -> Security and enable Enable Auth Key Verification? and Enable Data Signature Validation?

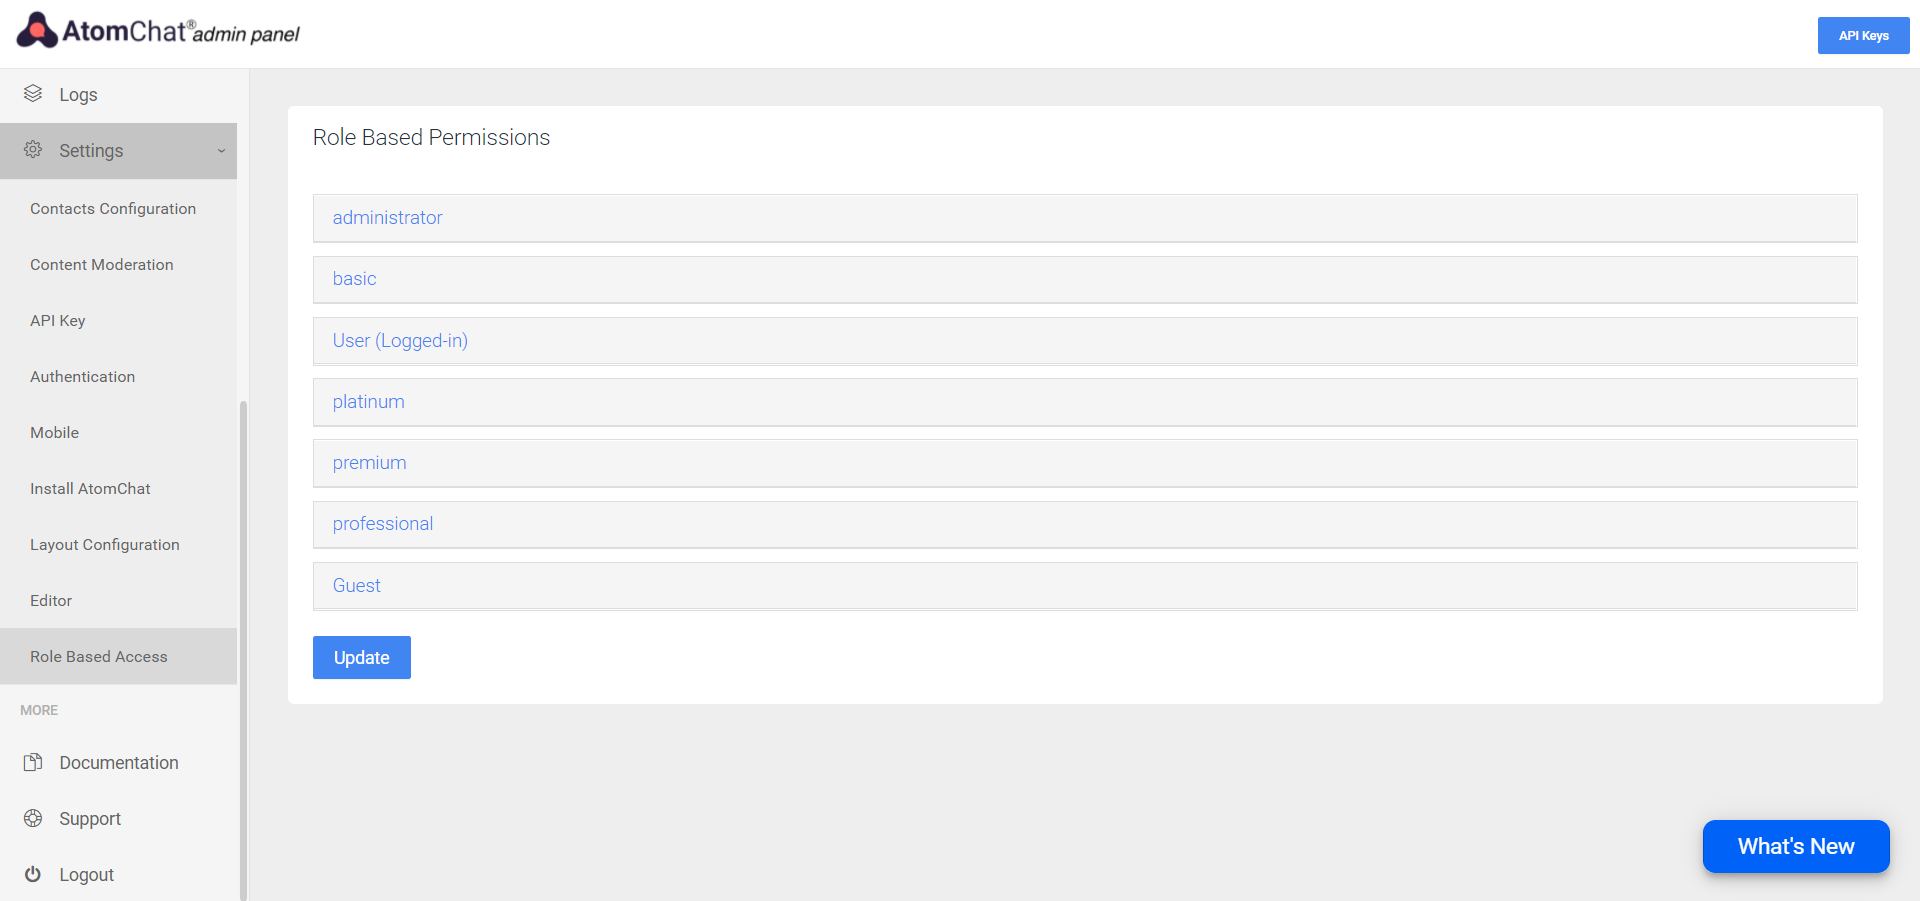
Role-Based Access Control
In your AtomChat Client Area, navigate to Settings → Role-Based Access and here you will see all membership levels assigned to users from your PMPro plugin as roles.
Note: At least one user belonging to each membership level has to login once to your site after AtomChat is installed.

Advanced Contact Configuration
You can set rules to configure the contact list for each role.
Navigate to Settings → Contact Configuration → Advanced Contact Configuration → Do you want to enable Role-based Contacts list? → Set this to Yes.

Need help Integrating?
We've got you! Please Contact Us if you need any help or have questions.
You can also schedule a remote Integration Assistance meeting with our team of experts!
Happy to help :)
Was this article helpful?
That’s Great!
Thank you for your feedback
Sorry! We couldn't be helpful
Thank you for your feedback
Feedback sent
We appreciate your effort and will try to fix the article