You can select a suitable plan from AtomChat's pricing page and sign up for a 14-day free trial!
2. Note Your API Keys
Sign in to your Dashboard and click on the Manage button
You will see API Keys on the top right. You can copy your keys from here!
3. Secure your environment
For successful integration, please ensure your domain or local environment is SSL-certified and secure.
4. Add AtomChat plugin
Navigate to the 'Plugins' section on the left menu and click on 'Add New'.
Search for the Plugin:
In the 'Add Plugins' page, find the search bar, type 'AtomChat', and hit enter.
The AtomChat plugin will appear in the search results. Click on the 'Install Now' button next to the AtomChat listing. The installation process will start and might take a few moments.
5. Install AtomChat
Once the plugin is installed, follow the below steps to integrate AtomChat with your website.
Click on the AtomChat tab on the left-hand side navigation menu.
Enter your License Key and then your Auth Key and click on the Install button to activate AtomChat
Choose a Layout
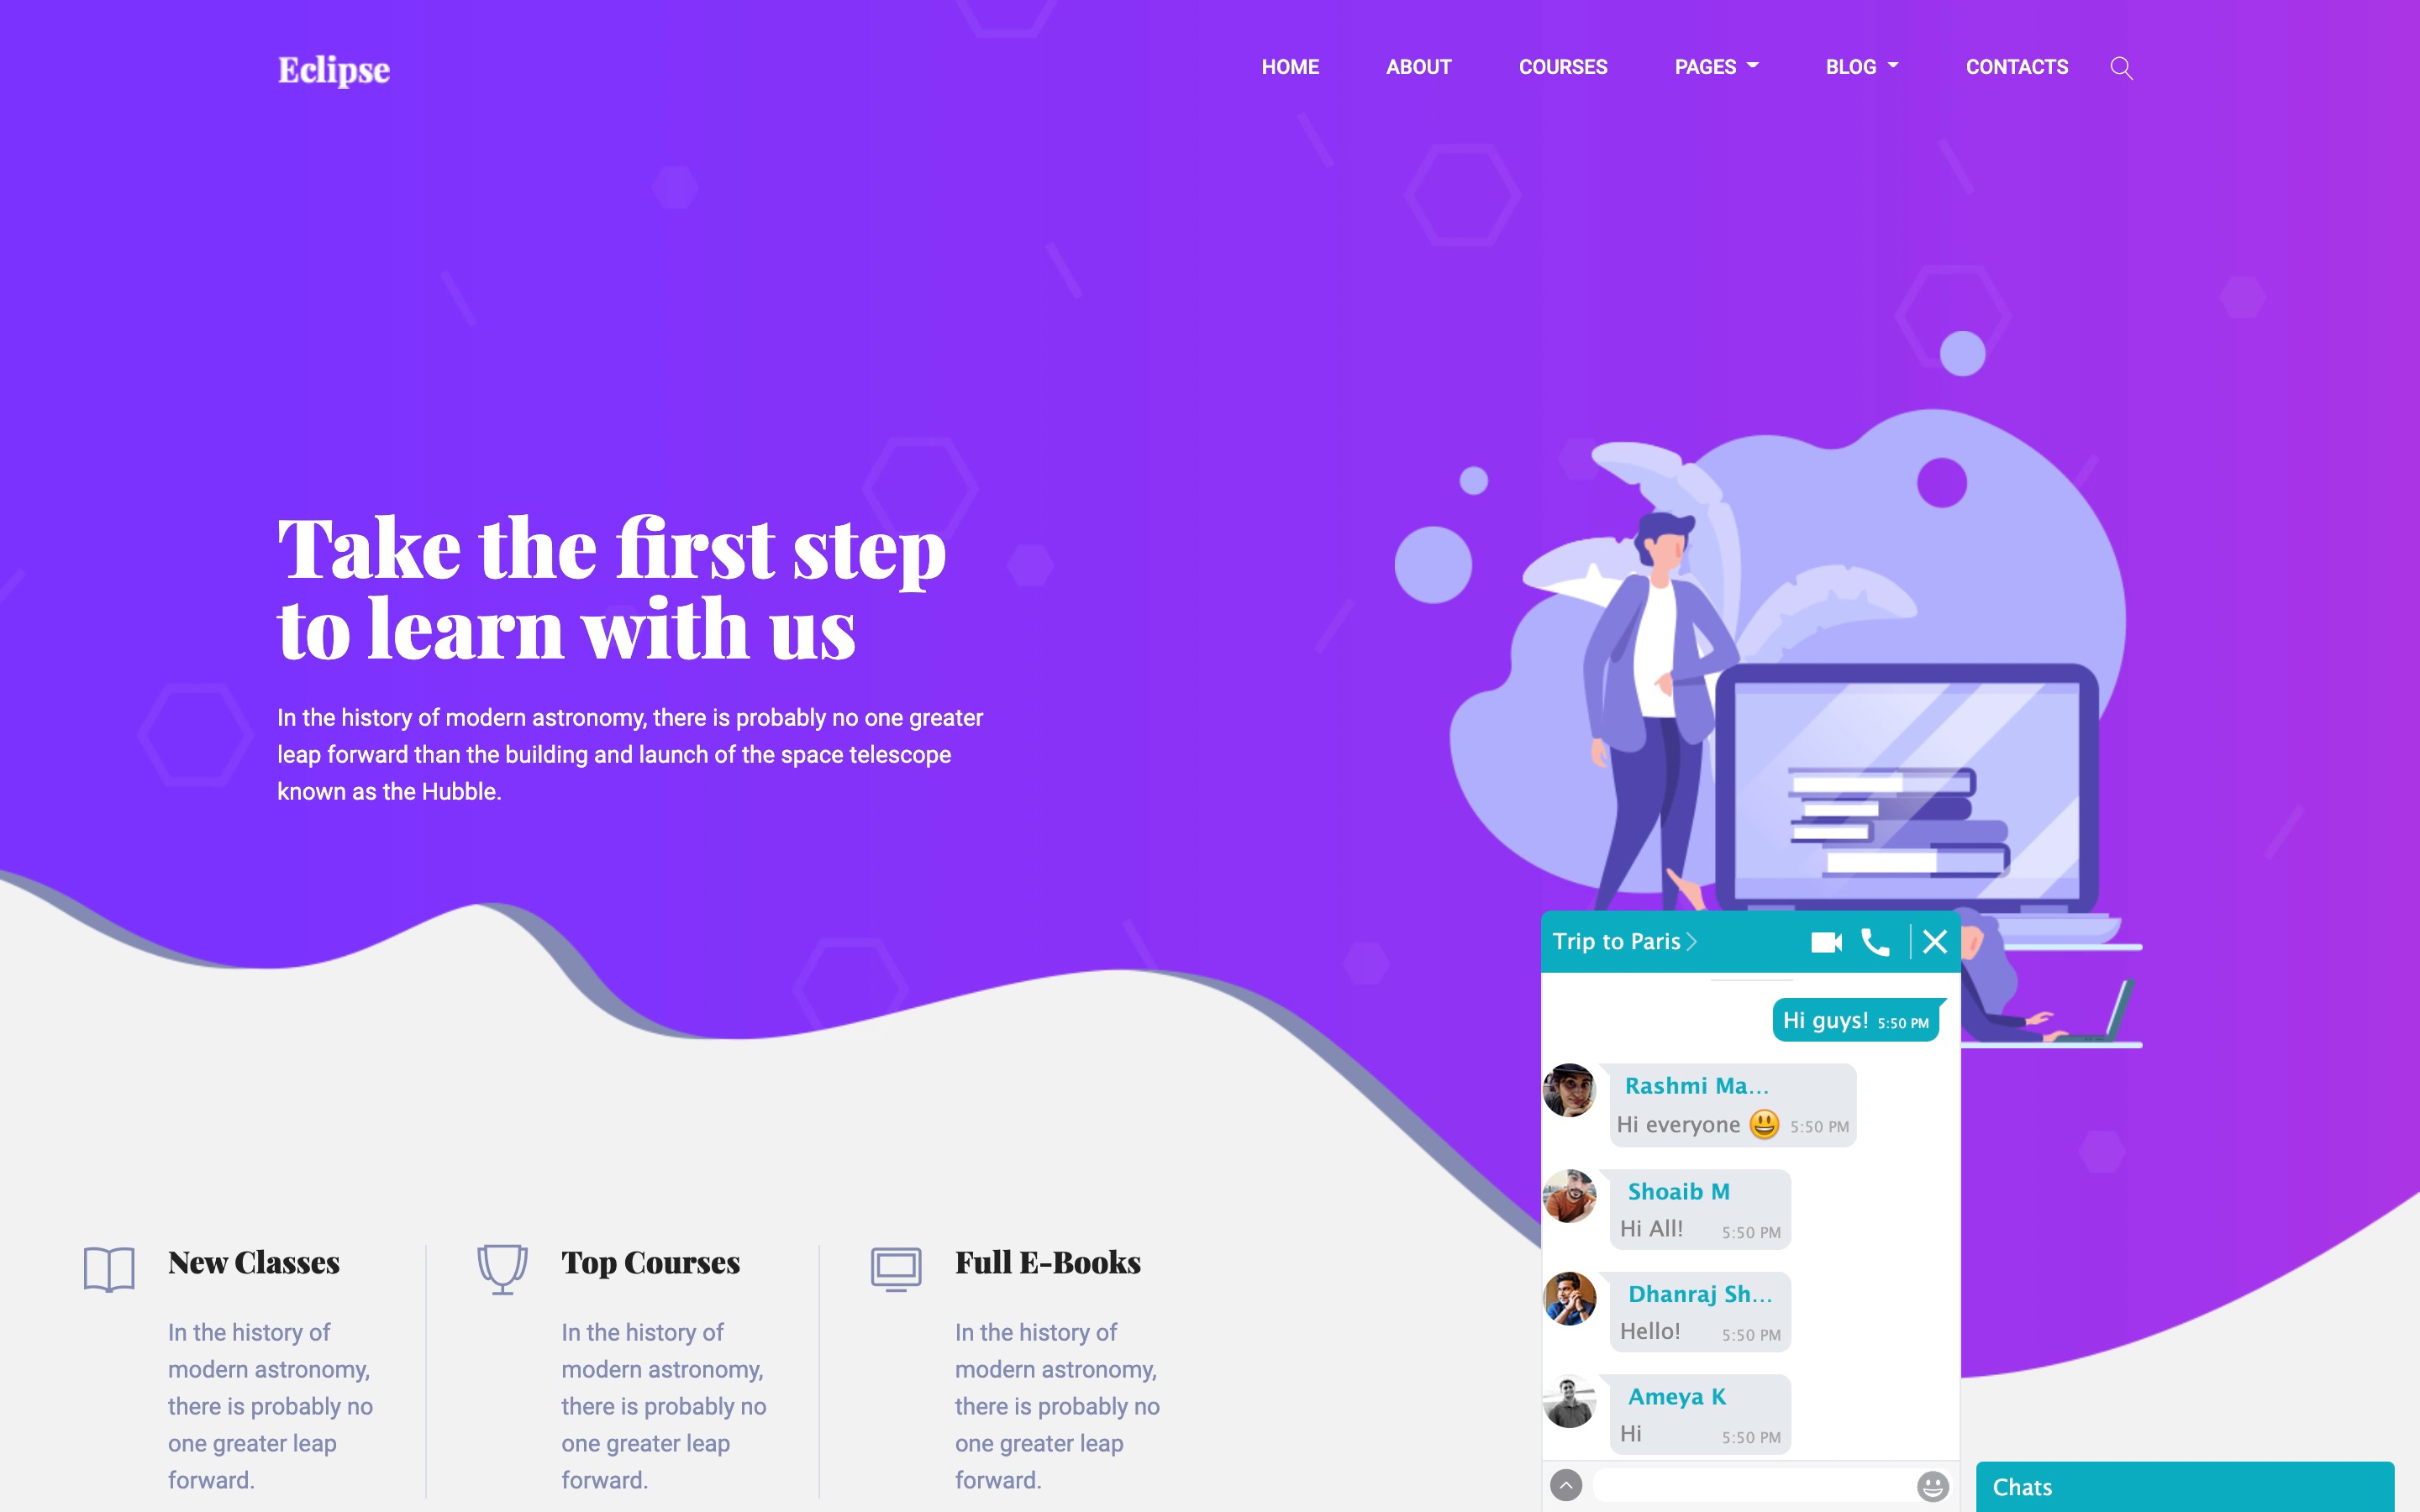
AtomChat offers 2 Layouts
1. Docked Layout creates a floating chat widget at the bottom right/left corner of your website.
2. Embedded Layout embeds a chat interface inside any page of your website
And please remember!
AtomChat layouts are not designed to be used together on the same page. If you add both layouts on the same page, please expect erratic behavior from the software.
6. Setting up the Docked Layout
As soon as you install the plugin, our Docked Layout is auto-activated for your convenience.
If you would like to manually add our Docked Layout to a particular page (using the WordPress content editor), then you can use the following shortcode:
[atomchat layout='docked']
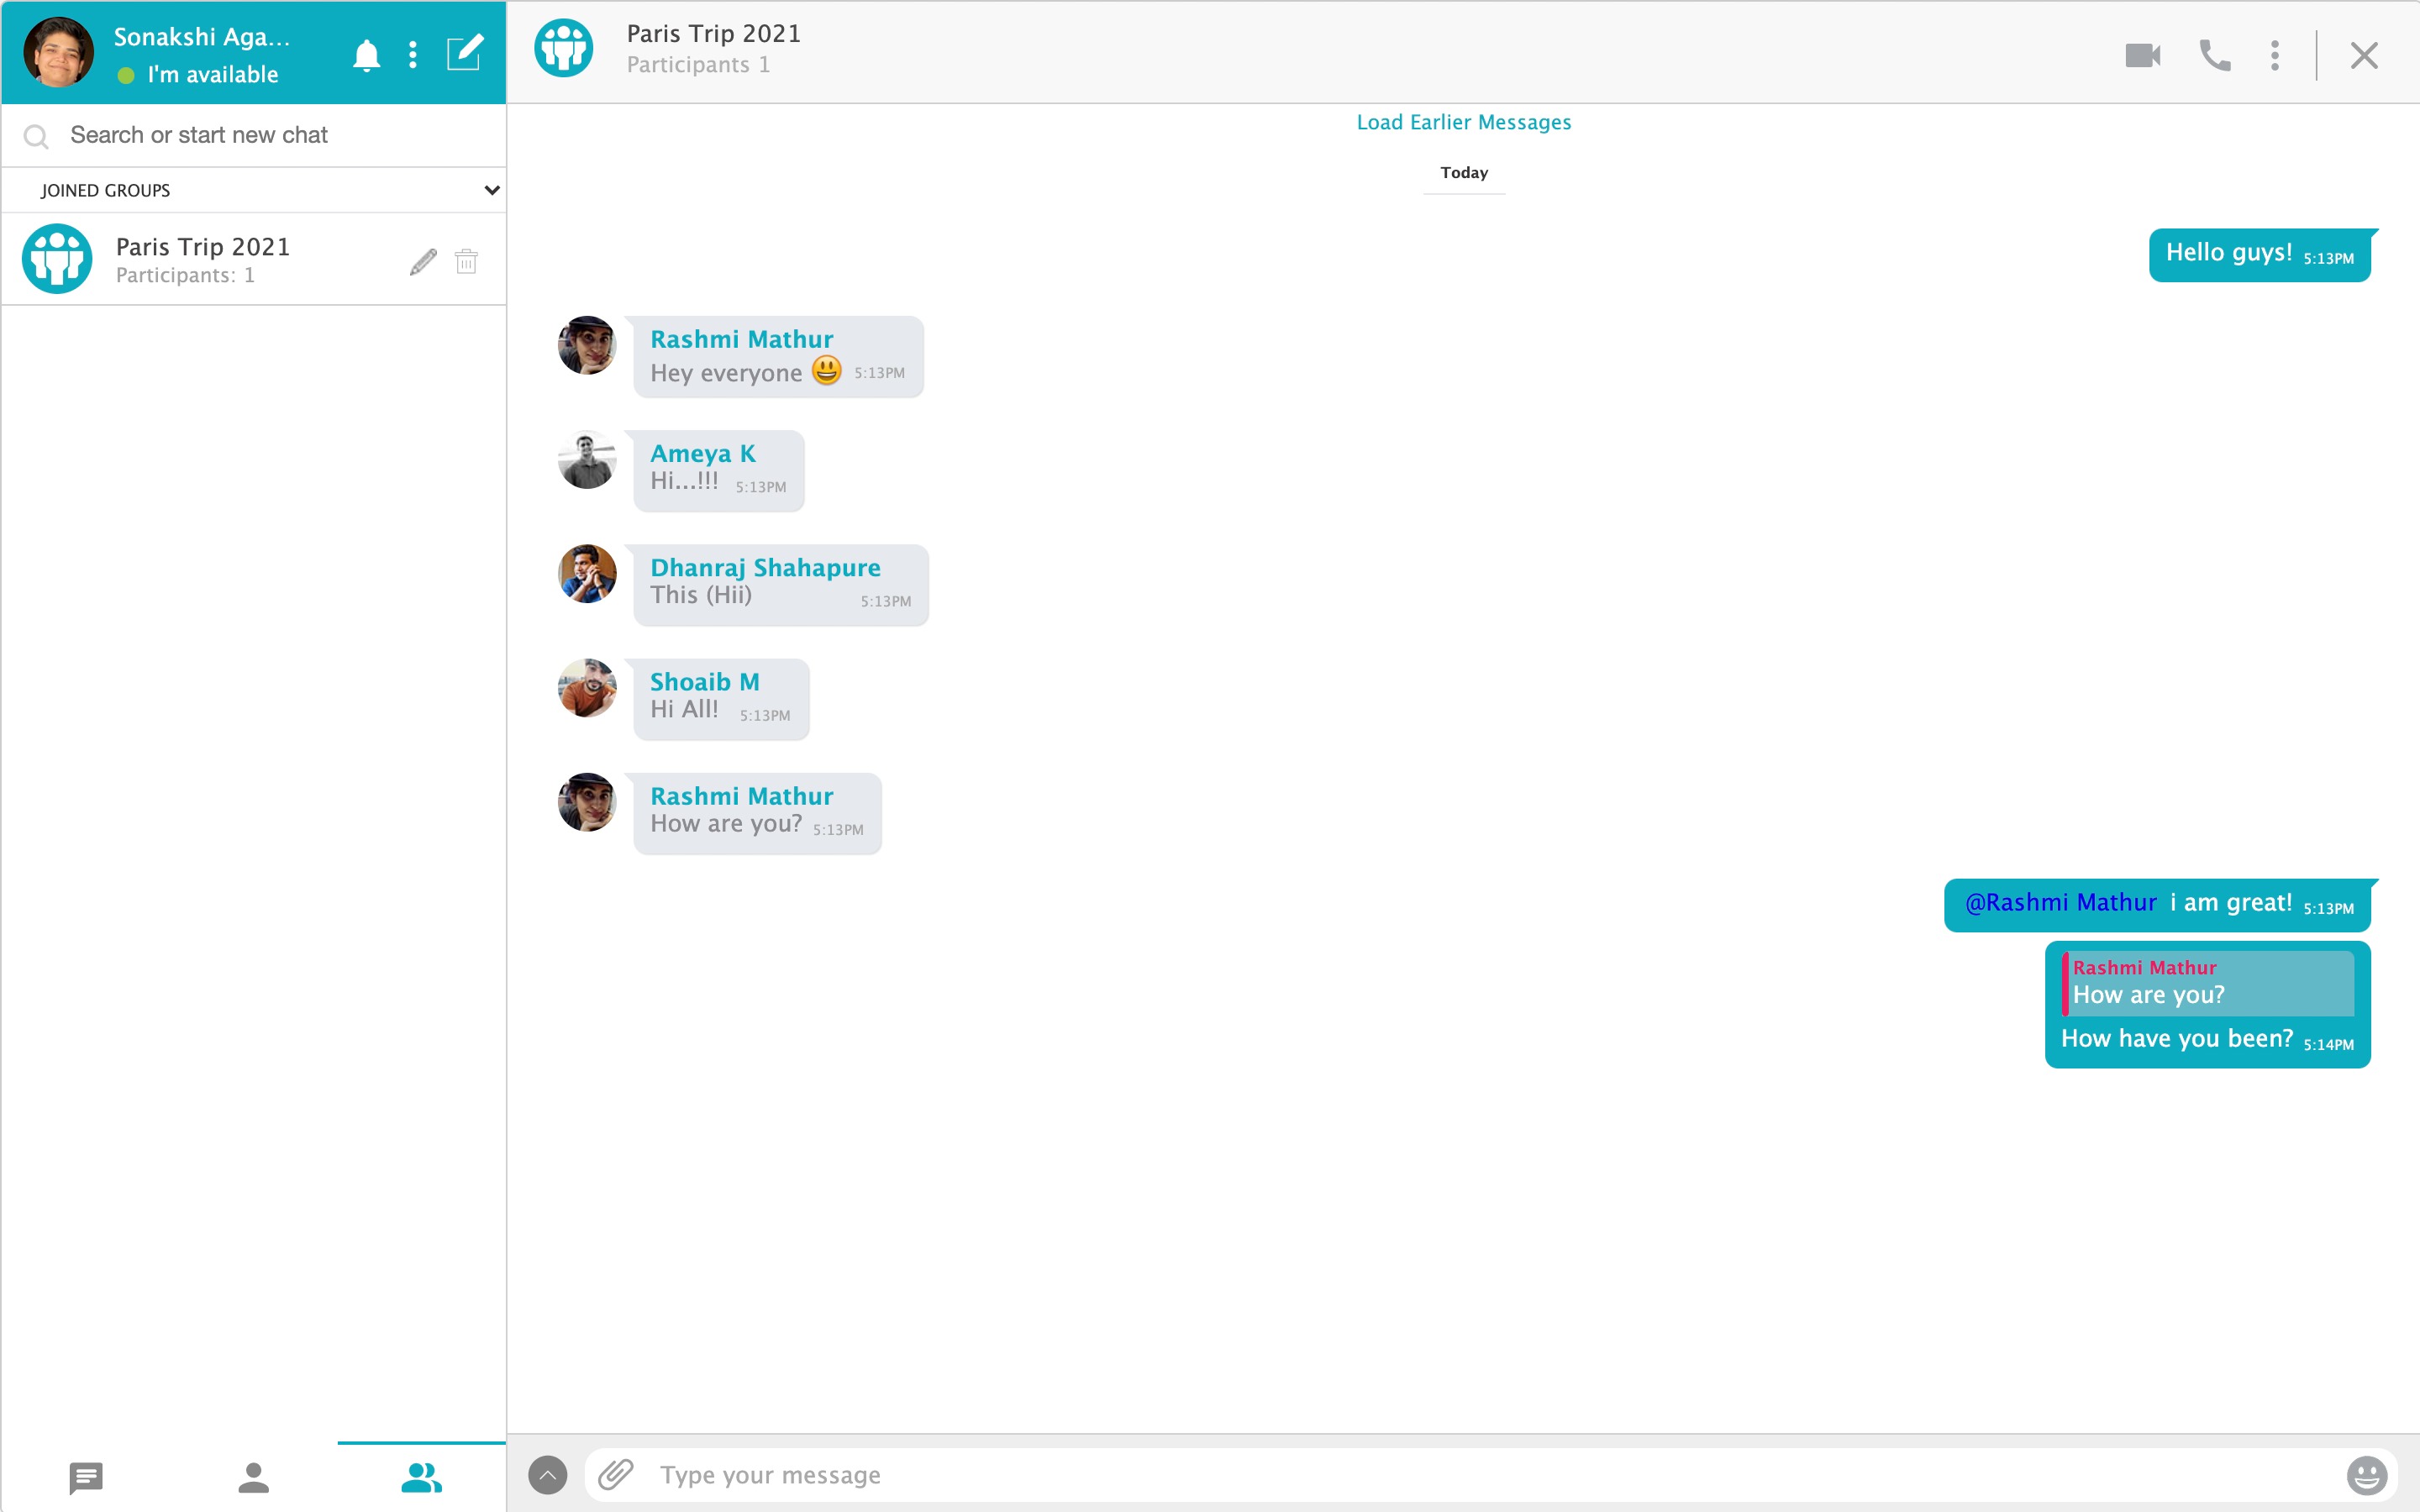
7. Setting up the Embedded Layout
The Embedded Layout allows you to add AtomChat to any part of your site page.
To proceed, add the following shortcode to any page of your site (using the WordPress content editor).
Before you begin 1. Sign-up for a Free Trial You can select a suitable plan from AtomChat's pricing page and sign up for a 14-day free trial! 2. Note Your API Keys Sign in to your Dashboard and click on the Manage button You will see API Keys on the ...
Before you begin 1. Sign-up for a Free Trial You can select a suitable plan from AtomChat's pricing page and sign up for a 14-day free trial! 2. Note Your API Keys Sign in to your Dashboard and click on the Manage button You will see API Keys on the ...
Before you begin 1. Sign-up for a Free Trial You can select a suitable plan from AtomChat's pricing page and sign up for a 14-day free trial! 2. Note Your API Keys Sign in to your Dashboard and click on the Manage button You will see API Keys on the ...
Integrating AtomChat with Your WordPress Multisite Environment: A Step-by-Step Guide This guide provides a comprehensive step-by-step walkthrough for integrating AtomChat with your WordPress Multisite Environment. Pre-requisites Before we begin, ...
If you've built your website on Squarespace and want your users to chat with each other, AtomChat can easily help you do this! To register and authenticate users, AtomChat uses your website's existing user-management in place. Since Squarespace does ...